
*Tutorial provided by mariages.net
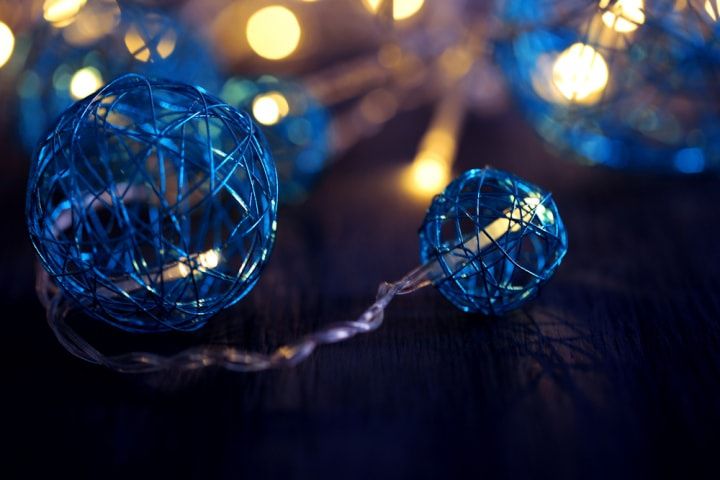
The best thing about these decorative accessories is that they are very flexible, not only can you put them in the way you want, as we mentioned before, but you can also make them in the colors and sizes that you decide. But without a doubt they are one of the best ways to decorate your house. decoration full of life and charm that will have an even more special touch being made by your own hands.
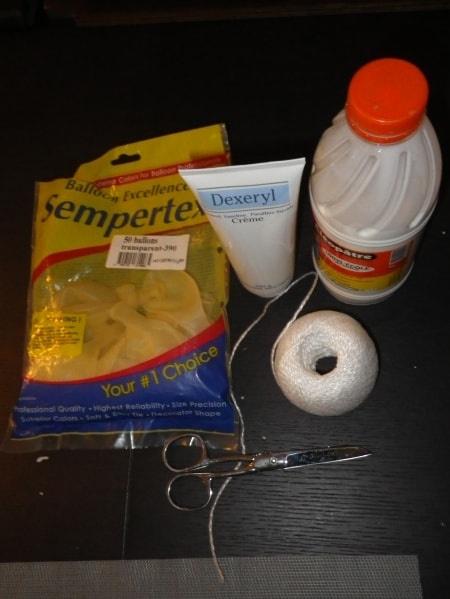
Materials:
See_also: Makeup tips for blue eyed brides
- A ball of thread or string 90 mts. long and 16 mm. thick, easily found in specialty stores or even in any supermarket, with this you get to have a yield of three to four balls of about twenty centimeters in diameter each.
- Balloons as round as possible, you can ask for this when you buy them or you can give them the shape as you inflate them. It is very important as they will give the shape and size to our balls, once the work is finished they are burst to leave the balls hollow.
- Scissors .
- One liter bottle of liquid glue, cold glue.
- Half a glass of corn flour or cornstarch.
- A quarter of a glass of hot water.
- Vaseline.
- A hanging wire and space to hang them (to dry).
- Cut cardboard or tip.top.
- Aerosol or spray paint (if you like a specific color).
Here are the steps:
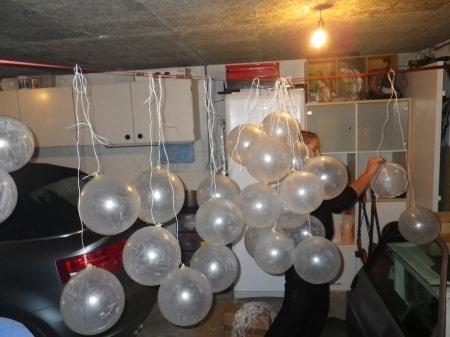
- The first thing to do is to inflate the balloons and hang them from the knot, then cover them with Vaseline so that they pop easily and don't stick to the material.
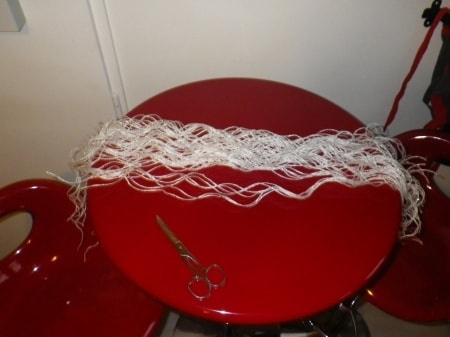
- Then the thread is cut into pieces of approximately 1.20 mt. long.
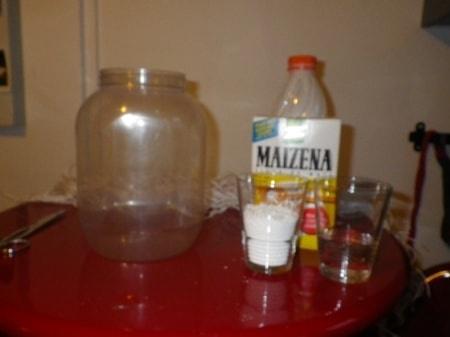
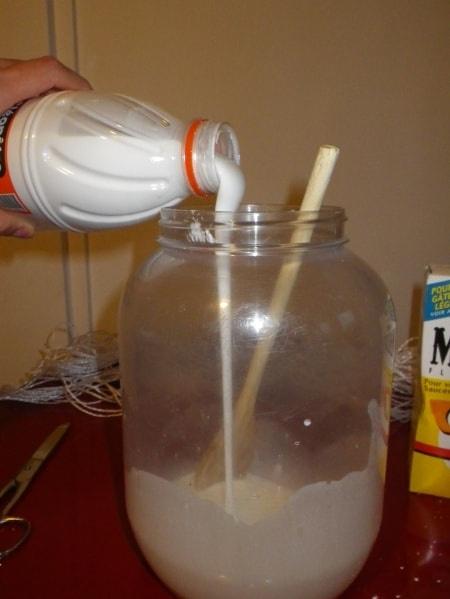
- Combine the following ingredients: 1/4 cup hot water, 1/2 cup cornstarch and 1/2 lt. of the glue. Mix in a bowl.
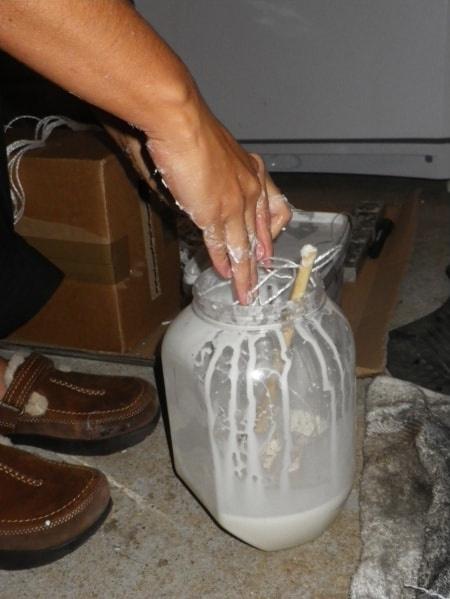
- Insert a strip of string into the container of the mixture so that it is completely impregnated, to remove it you can slide it along the edge of the mouth of the container or help yourself with a wooden spoon removing the excess.
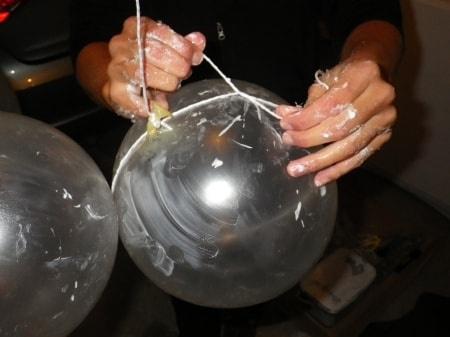
- Wrap and tie pieces of string tightly around the balloons, to prevent them from moving, use Vaseline.
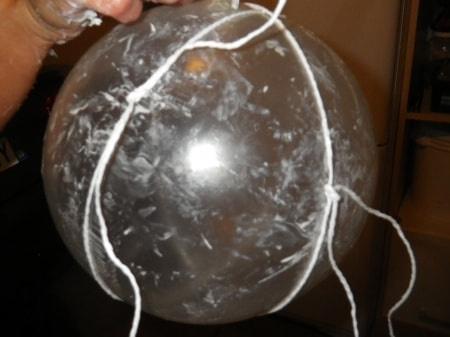
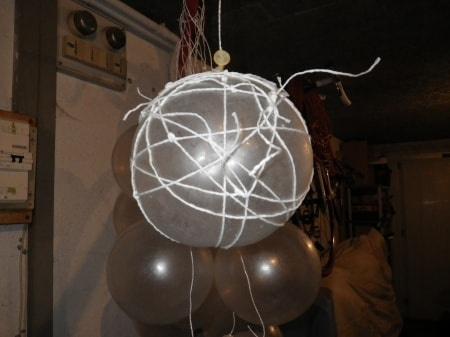
- Repeat this step several times so that you have several pieces of string that fall, and then tie these pieces together allowing you to create diagonal and varied shapes on the ball. Next, cut off the small pieces that hang down and don't define the shape.
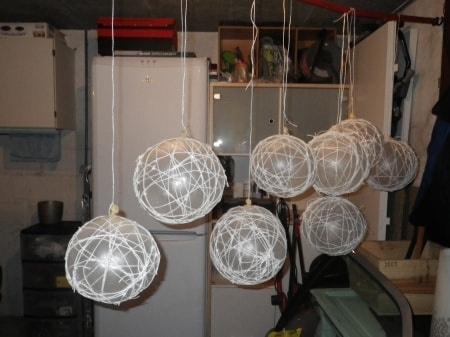
- You will notice that the ball becomes more compact and it takes about 13 pieces of rope of the indicated length to achieve a sphere, but it can be added to an even more compact shape. This is the result after several spheres worked.
- When you have completed the required number of spheres, allow 24 to 48 hours to dry. Once drying is complete, press the balloon inwards to release the string smoothly.
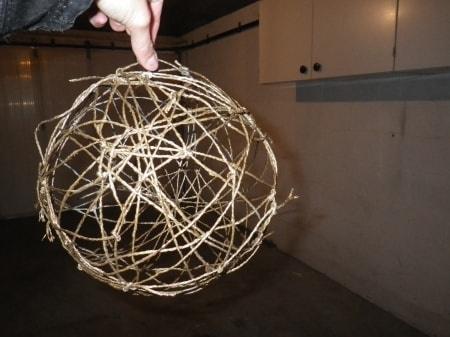
- When the balloon is out, and for this purpose you will use the string with which the balloon is tied, you will see how the pieces of string take the shape of a rigid sphere.
- Finally, if you wish, you can spray paint the balls with the color of your choice and according to the colors or theme of your wedding, from a matte color to metallic, it all depends on your imagination.
Previous post Kourtney Kardashian and Travis Baker's Italian Wedding
Next post 6 tips to enjoy cooking as a couple
